How to Insert Multiple Rows in Google Docs (Easiest Way in 2025)
In this tutorial, we will show you exactly how to insert multiple rows in Google Docs. Simply follow the steps below.

Add Multiple Rows in Google Docs
Follow the steps below to add multiple rows in your Google Docs file.
1. Locate the Table in Your Document for Row Addition
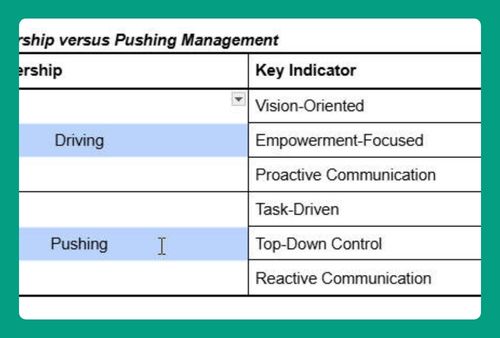
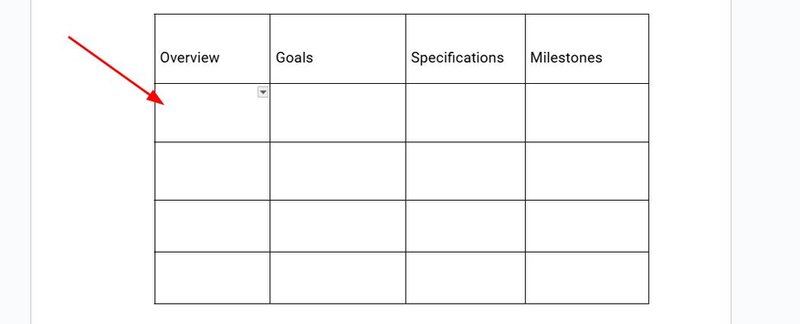
Find the table in your document where you want to add multiple rows. Click inside the table to select it and prepare for modifications.
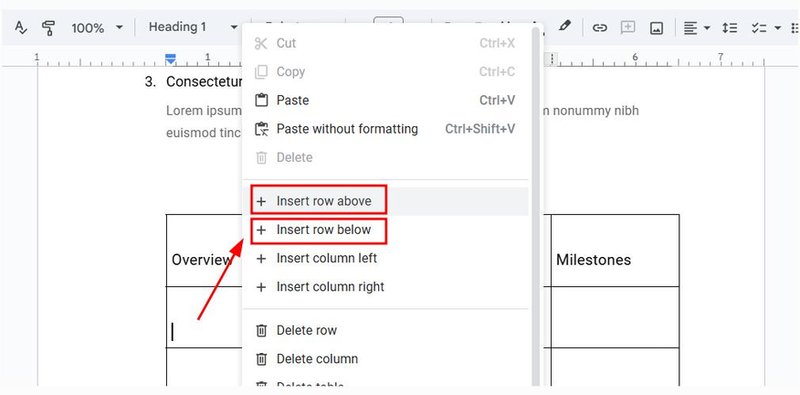
2. Manually Insert the First Row Above or Below the Selected Cell
Right-click on a cell where you want the new row to be inserted, either above or below. From the context menu, choose “Insert row above” or “Insert row below” based on where you want the row added.
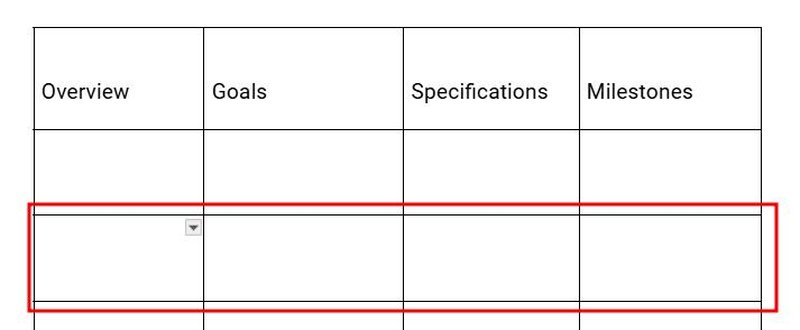
3. Adjust the Formatting of Newly Added Rows to Match the Table
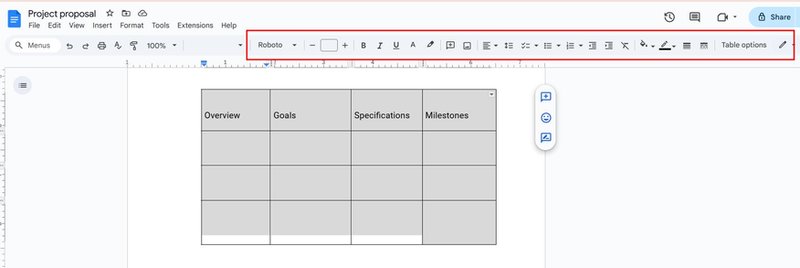
Check the formatting of the newly added rows to ensure they match the rest of the table.
Highlight the rows and use the toolbar to align text, modify font size, or change other attributes.
4. Review All Changes and Save the Document to Preserve the Modifications
Go through the table to make sure all new rows are correctly placed and formatted. Save your document to preserve the changes.
We hope you now have a better understanding of adding multiple rows in Google Docs. If you enjoyed this article, you might also like our articles on how to insert rows below Google Docs using a shortcut and how to make an up arrow in Google Docs.