How to Edit Table Borders in Google Docs (Easiest Way in 2025)
In this tutorial, we will show you exactly how to edit table borders in Google Docs in just a few simple steps. Read on to learn more.

Edit Table Borders in Google Docs
Follow the steps below to change table borders in Google Docs.
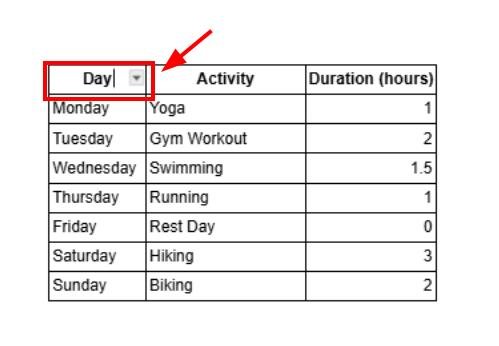
1. Click on Any Cell in the Table
Click inside any cell of your table to activate it. This action will make the table options appear in the toolbar above.
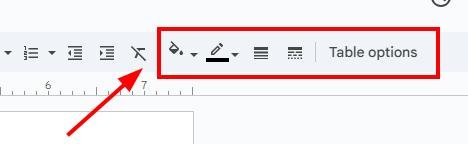
2. Look for the Table Options in the Toolbar
Once the table is selected, locate the Table options section in the toolbar at the top of the screen. This section provides all the tools you need to edit table borders and other settings.
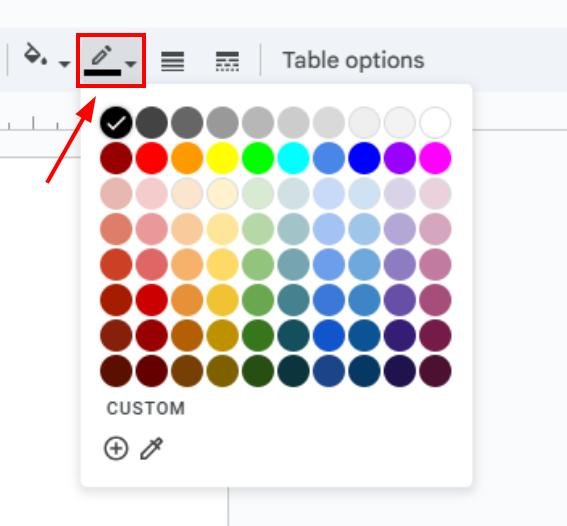
3. Change the Border Color
In the Table options section, find the border color icon (usually a pencil icon). Click it to open the color picker and select your desired border color. The color will apply to the table borders immediately.
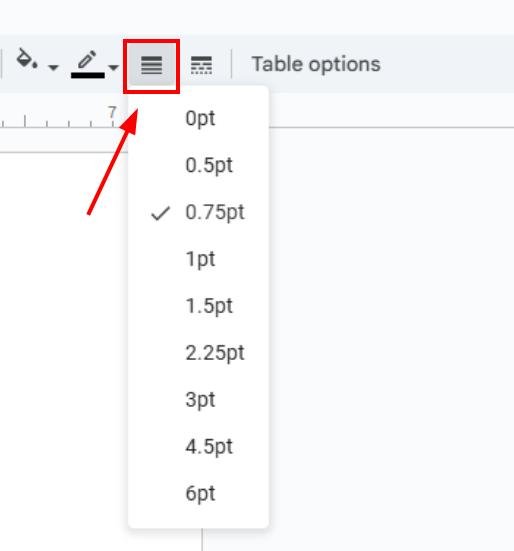
4. Adjust the Border Thickness
Next to the border color icon, there is a dropdown menu for border thickness. Click the dropdown and select the thickness level you prefer. Your table borders will change in real time to reflect your choice.
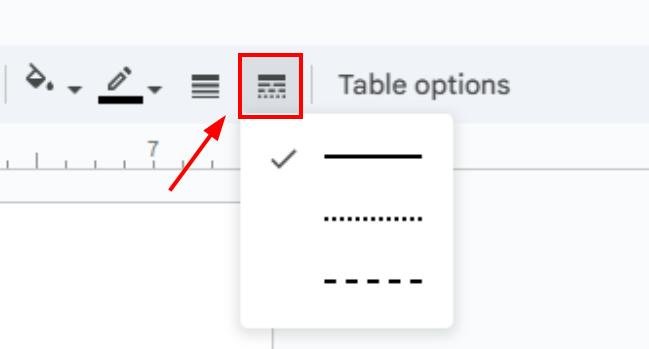
5. Choose a Border Style
Locate the border style icon, which allows you to select different line styles (solid, dashed, or dotted). Click the icon and choose the style that fits your table design. The selected style will be applied instantly.
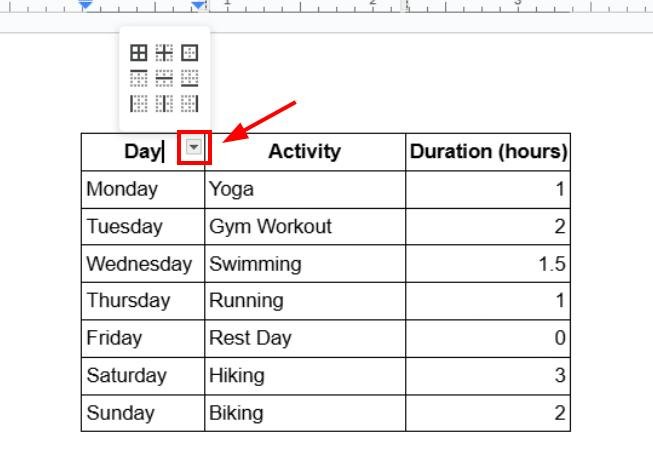
6. Customize Which Borders to Show
Click any cell from the table and select which border to show. You can select specific sides, like only the top, bottom, or sides, and customize their color, thickness, or style as needed.
We hope that you now have a better understanding of how to change table borders in Google Docs. If you enjoyed this article, you might want to check our articles on how to add table borders in Google Docs and how to remove table border in Google Docs.